|
|
本帖最后由 Aircon 于 2013-1-31 21:08 编辑
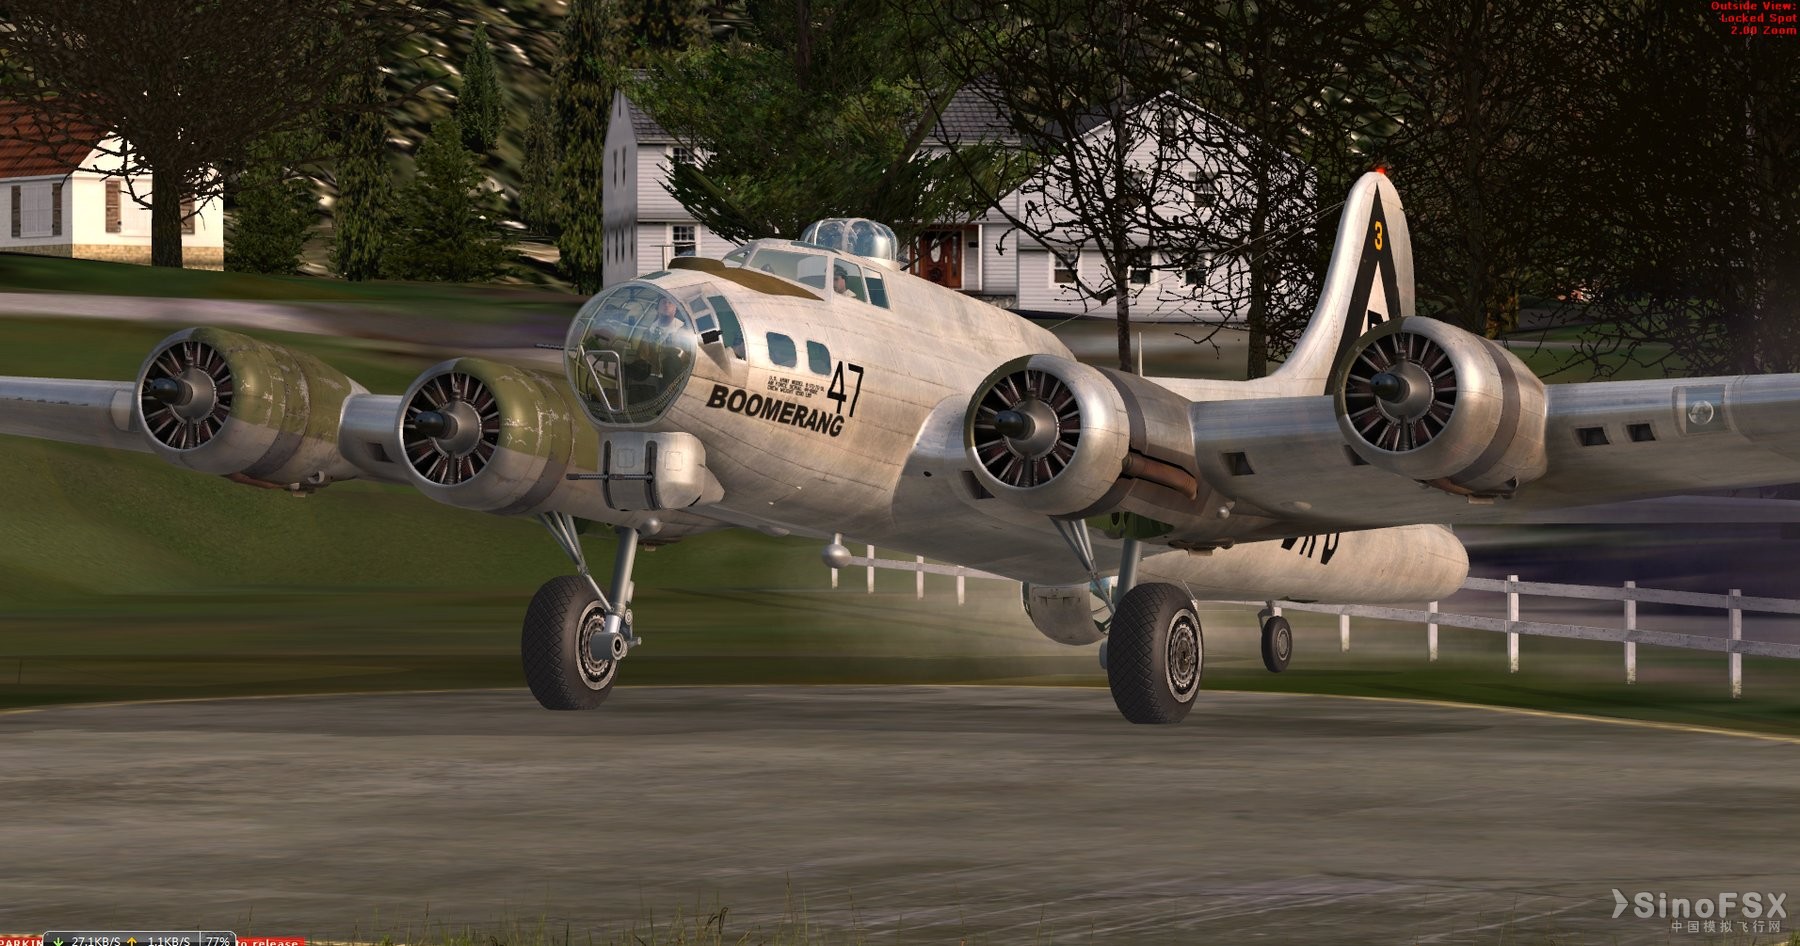
SweetFX的功能比ENB强大许多,这里不作介绍(后面有截图)。
下载:
 SweetFX_1_3.7z
(145.21 KB, 下载次数: 4672)
安装方法:解压,将所有文件复制到FSX主目录下即可。
使用说明:
1、关闭FSX的抗锯齿
2、通过编辑SweetFX_ settings.txt文件来打开或关闭功能。(1打开,0关闭,自己设定)
// Set to 1 for ON or 0 for OFF(1打开,0关闭,自己设定)
#define USE_SMAA_ANTIALIASING 1 //[0 or 1] SMAA Anti-aliasing : Smoothens jagged lines.抗锯齿功能,影响帧数
#define USE_LUMASHARPEN 0 //[0 or 1] LumaSharpen : Also sharpens the antialiased edges which makes them less smooth - I'm working on fixing that.锐化,影响帧数。
#define USE_BLOOM 0 //[0 or 1] Bloom : Makes bright lights bleed their light into their surroundings (relatively high performance cost)光晕,影响帧数。
#define USE_HDR 0 //[0 or 1] HDR : Not actual HDR - It just tries to mimic an HDR look (relatively high performance cost)HDR高动态渲染,影响帧数。
#define USE_TECHNICOLOR 0 //[0 or 1] TECHNICOLOR : Attempts to mimic the look of an old movie using the Technicolor three-strip color process (Techicolor Process 4)一种电影色彩模式(建议不要和DPX同时打开)
#define USE_DPX 0 //[0 or 1] Cineon DPX : Should make the image look like it's been converted to DXP Cineon - basically it's another movie-like look similar to technicolor.一种电影色彩模式(建议不要和TECHNICOLOR同时打开)
#define USE_LIFTGAMMAGAIN 1 //[0 or 1] Lift Gamma Gain : Adjust brightness and color of shadows, midtones and highlights (avoids clipping)增强Gamma
#define USE_TONEMAP 0 //[0 or 1] Tonemap : Adjust gamma, exposure, saturation, bleach and defog. (may cause clipping)色调调整(Gamma,曝光,饱和度,漂白,除雾),会降低帧数
#define USE_VIBRANCE 1 //[0 or 1] Vibrance : Intelligently saturates (or desaturates if you use negative values) the pixels depending on their original saturation.智能饱和度
#define USE_CURVES 1 //[0 or 1] Curves : Contrast adjustments using S-curves.(S-curves对比度调整)
#define USE_SEPIA 1 //[0 or 1] Sepia : Sepia tones the image.褐色影调怀旧影调(建议不要和前面两个电影色彩模式共用,下面的参数设置里可以改成其他色调)
#define USE_VIGNETTE 0 //[0 or 1] Vignette : Darkens the edges of the image to make it look more like it was shot with a camera lens. May cause banding artifacts.晕影暗角边框
#define USE_DITHER 0//[0 or 1] Dither : Applies dithering to simulate more colors than your monitor can display. This lessens banding artifacts (mostly caused by Vignette)抖动效果,能减少带状干扰。
#define USE_SPLITSCREEN 0 //[0 or 1] Splitscreen : Enables the before-and-after splitscreen comparison mode.分屏比较模式
(蓝色的3项对硬件要求很高,慎用!)
/*-----------------------------------------------------------.
/ SMAA Anti-aliasing settings /
'-----------------------------------------------------------*/
#define SMAA_THRESHOLD 0.12 // [0.05 to 0.20] Edge detection threshold
#define SMAA_MAX_SEARCH_STEPS 8 // [0 to 98] Determines the radius SMAA will search for aliased edges
#define SMAA_MAX_SEARCH_STEPS_DIAG 4 // [0 to 16] Determines the radius SMAA will search for diagonal aliased edges
#define SMAA_CORNER_ROUNDING 0 // [0 to 100] Determines the percent of antialiasing to apply to corners.
(绿色的抗锯齿的参数可以设置低一点,提高性能)
后面的都是针对各个功能的参数细化的设置,可根据自己的喜好及机器性能自己设置(最好把原文件备份)。
BLOOM,和HDR的设置要小心,参数不合适,很多亮部或暗部的层次会丢失,一片死白或死黑,我自己还在摸索中。
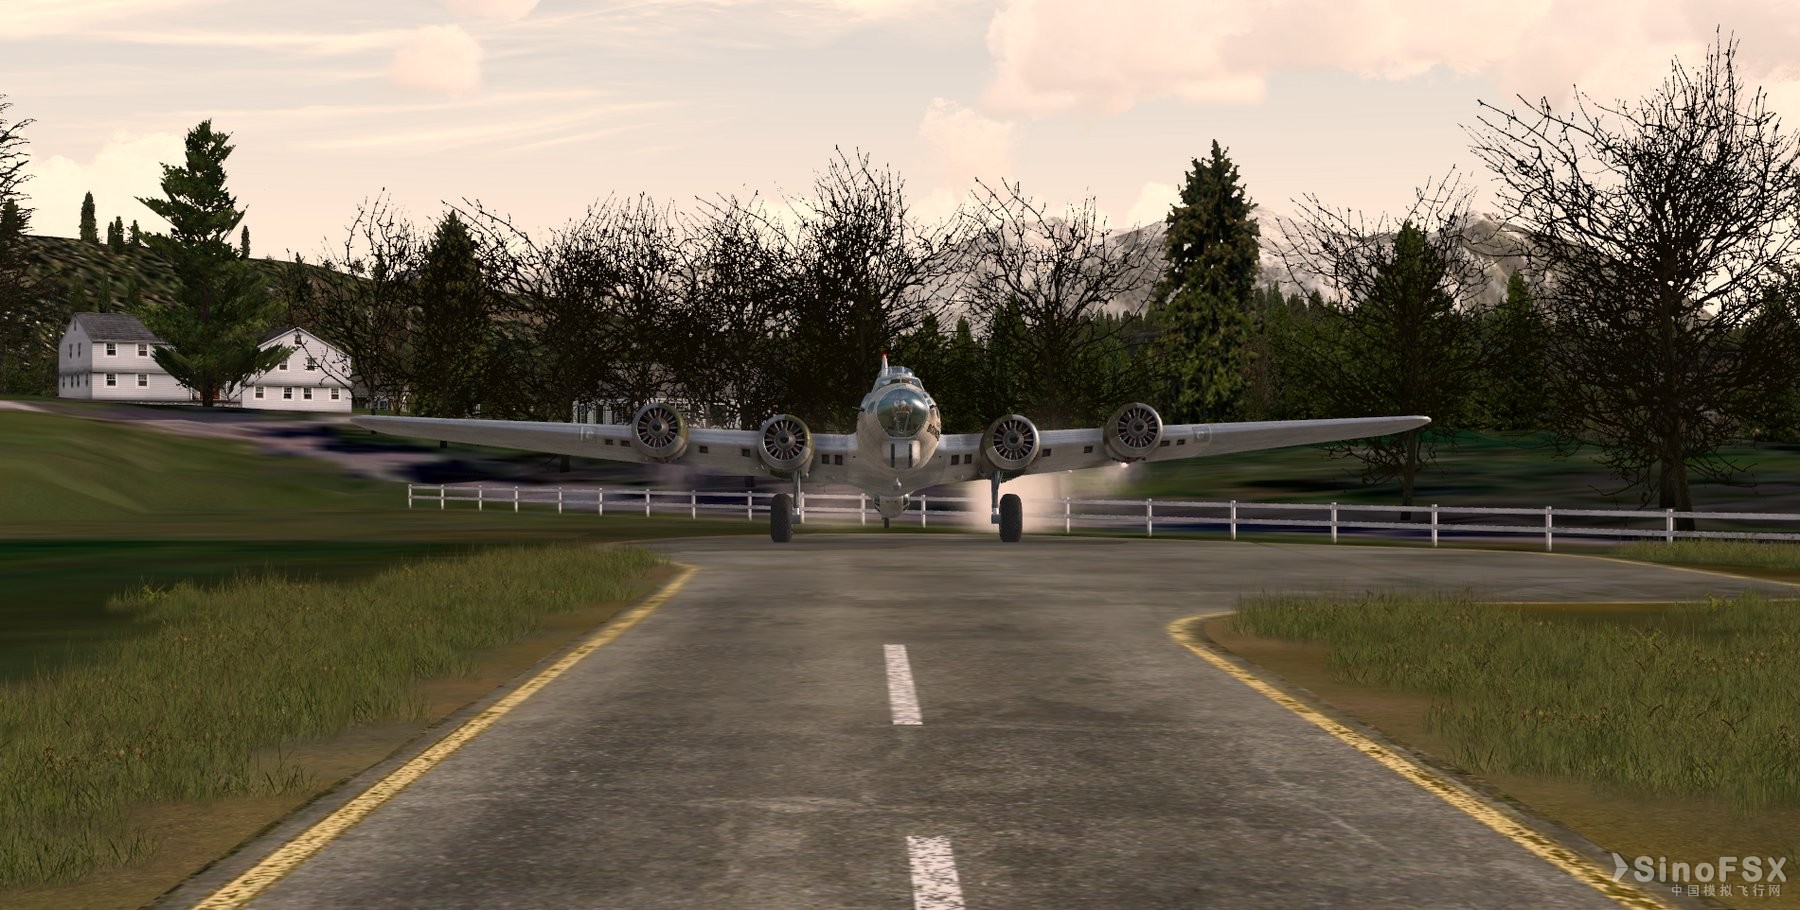
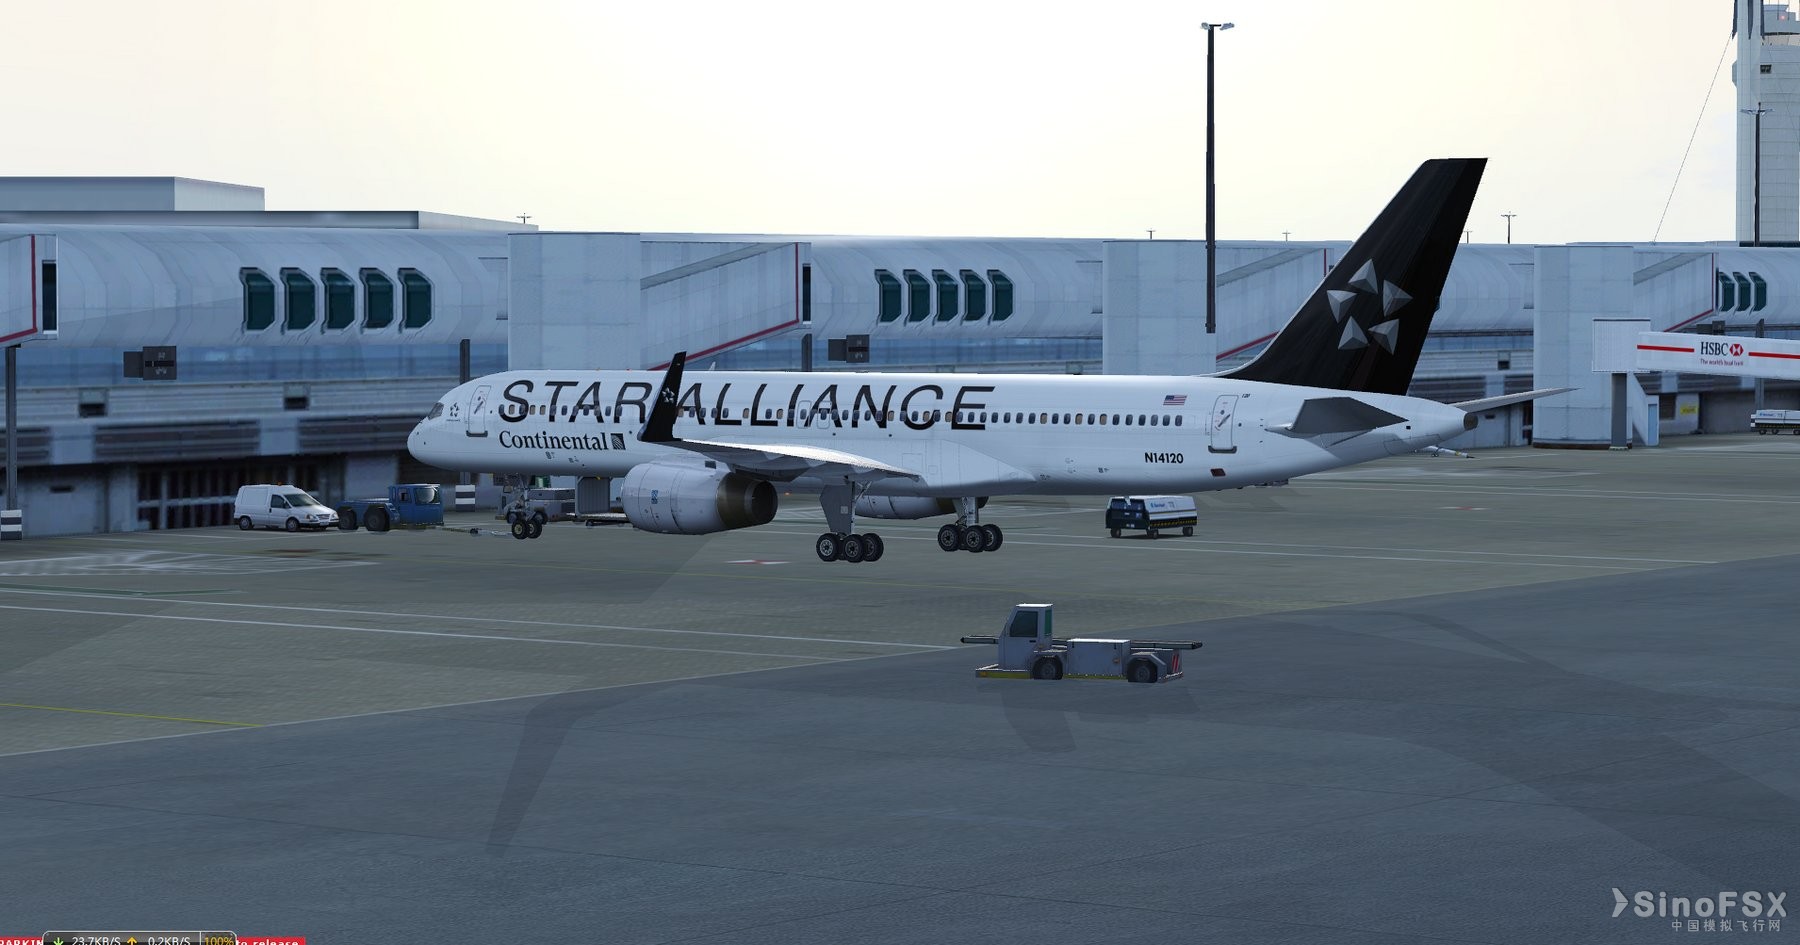
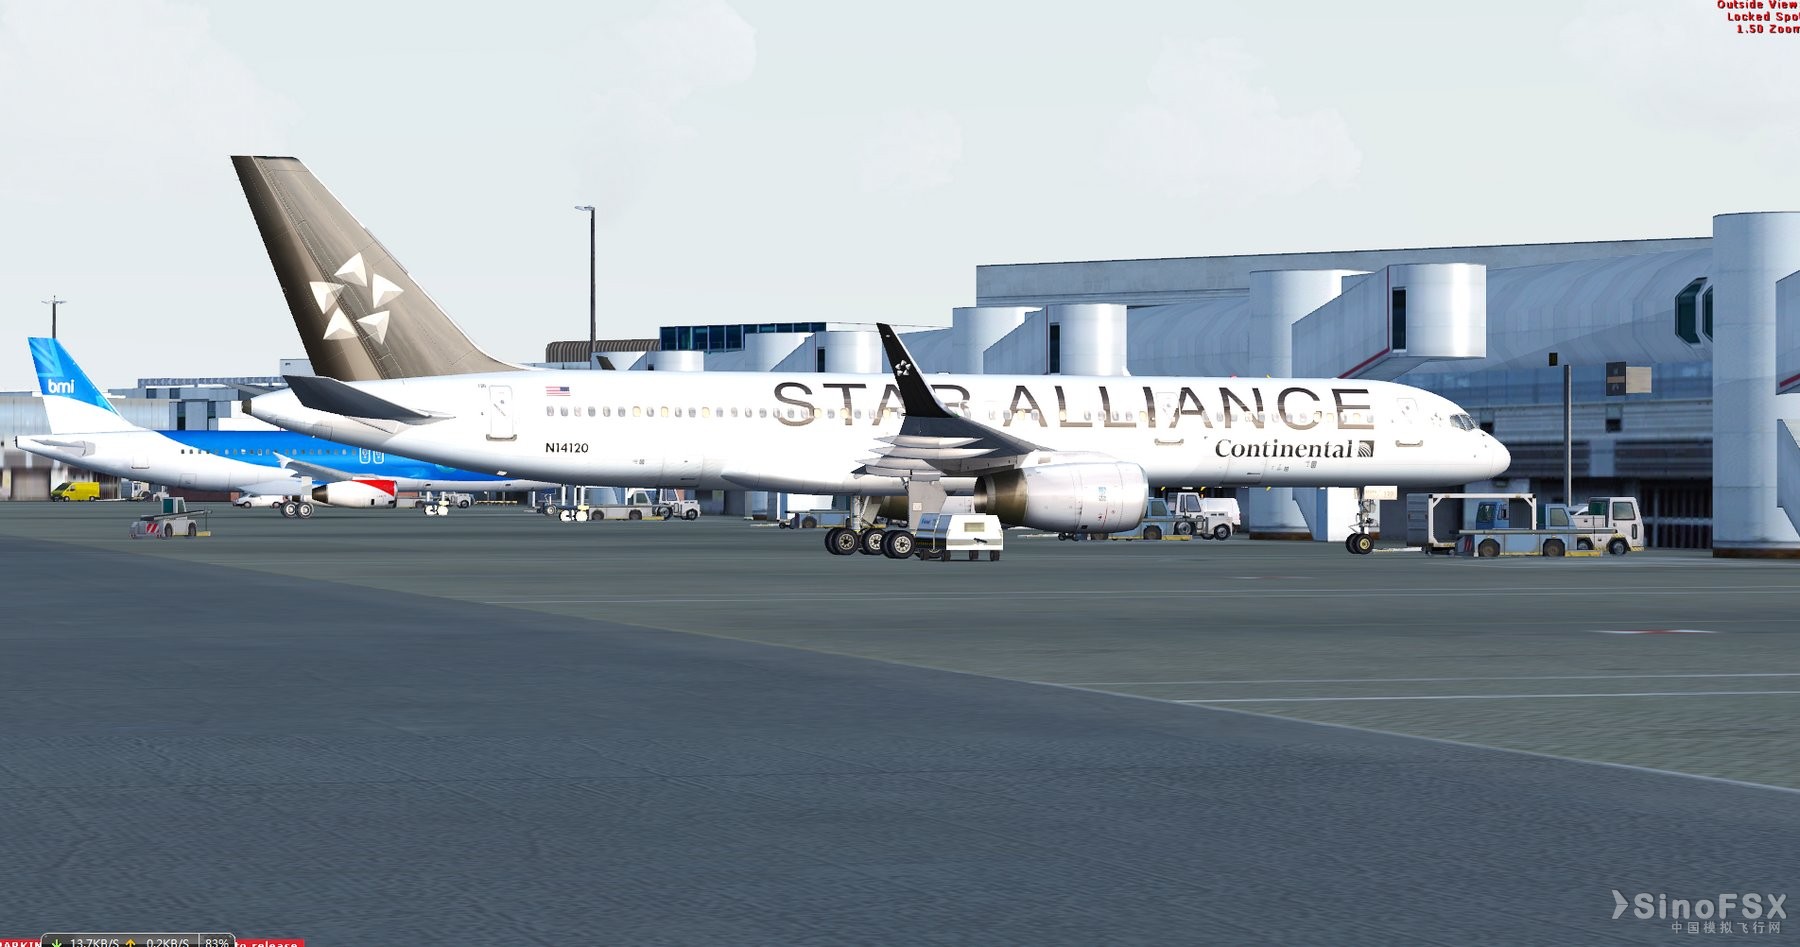
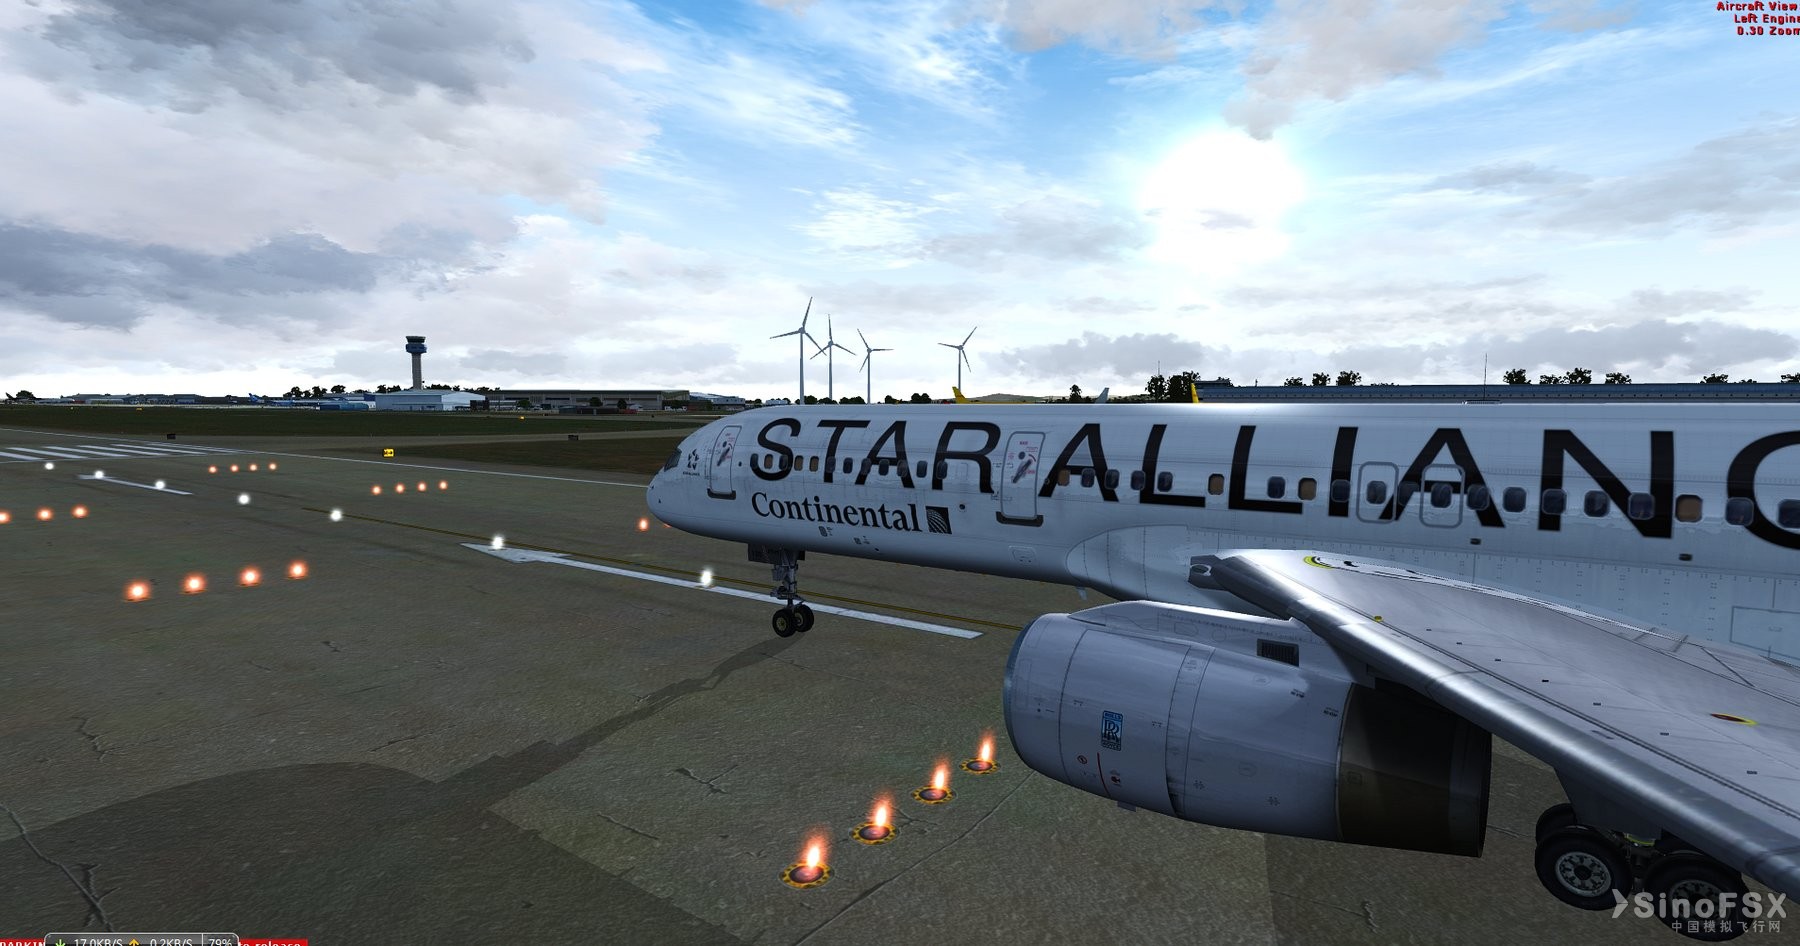
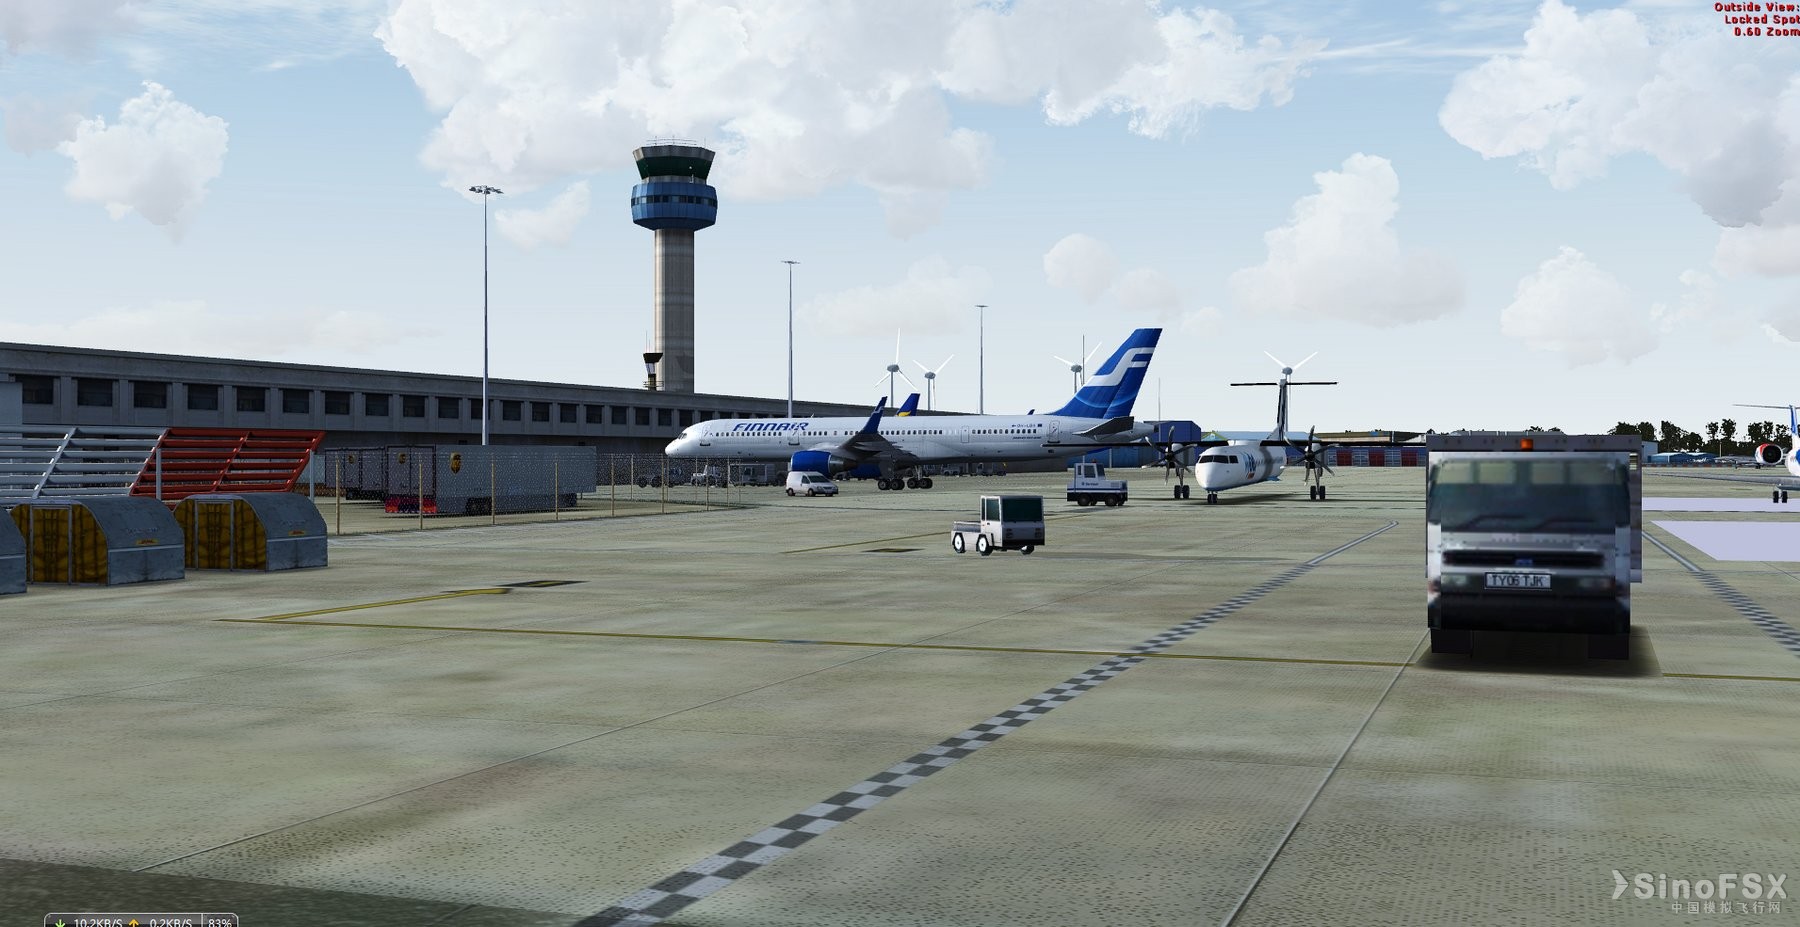
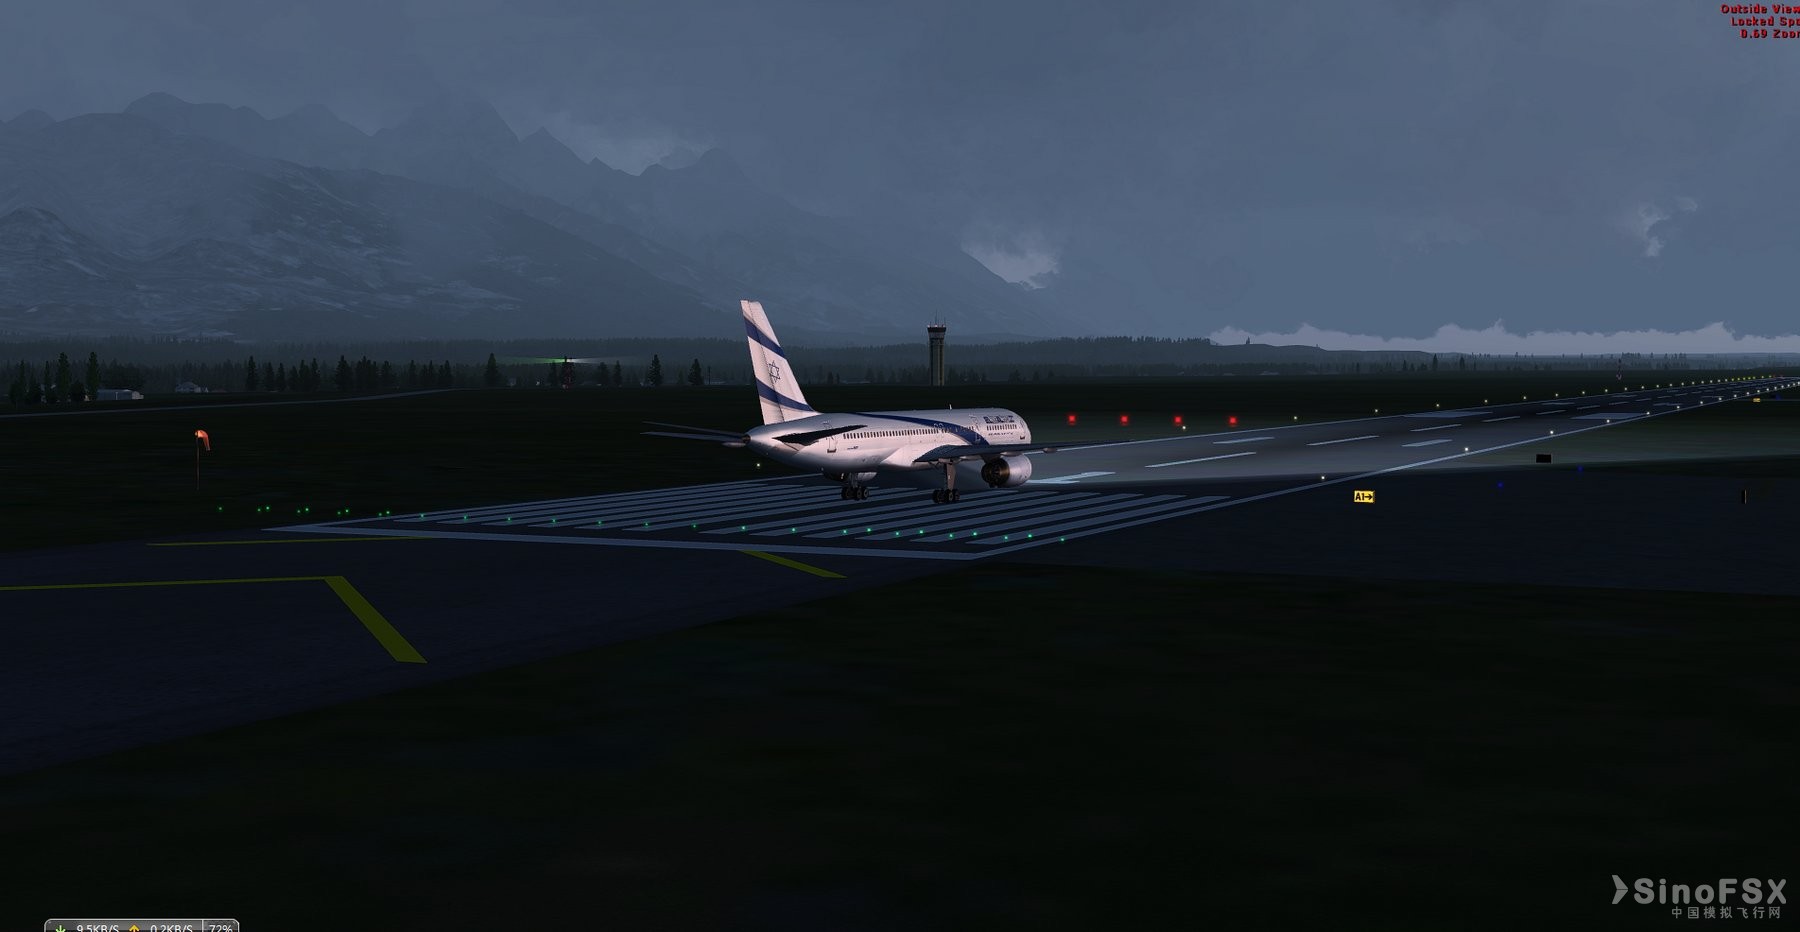
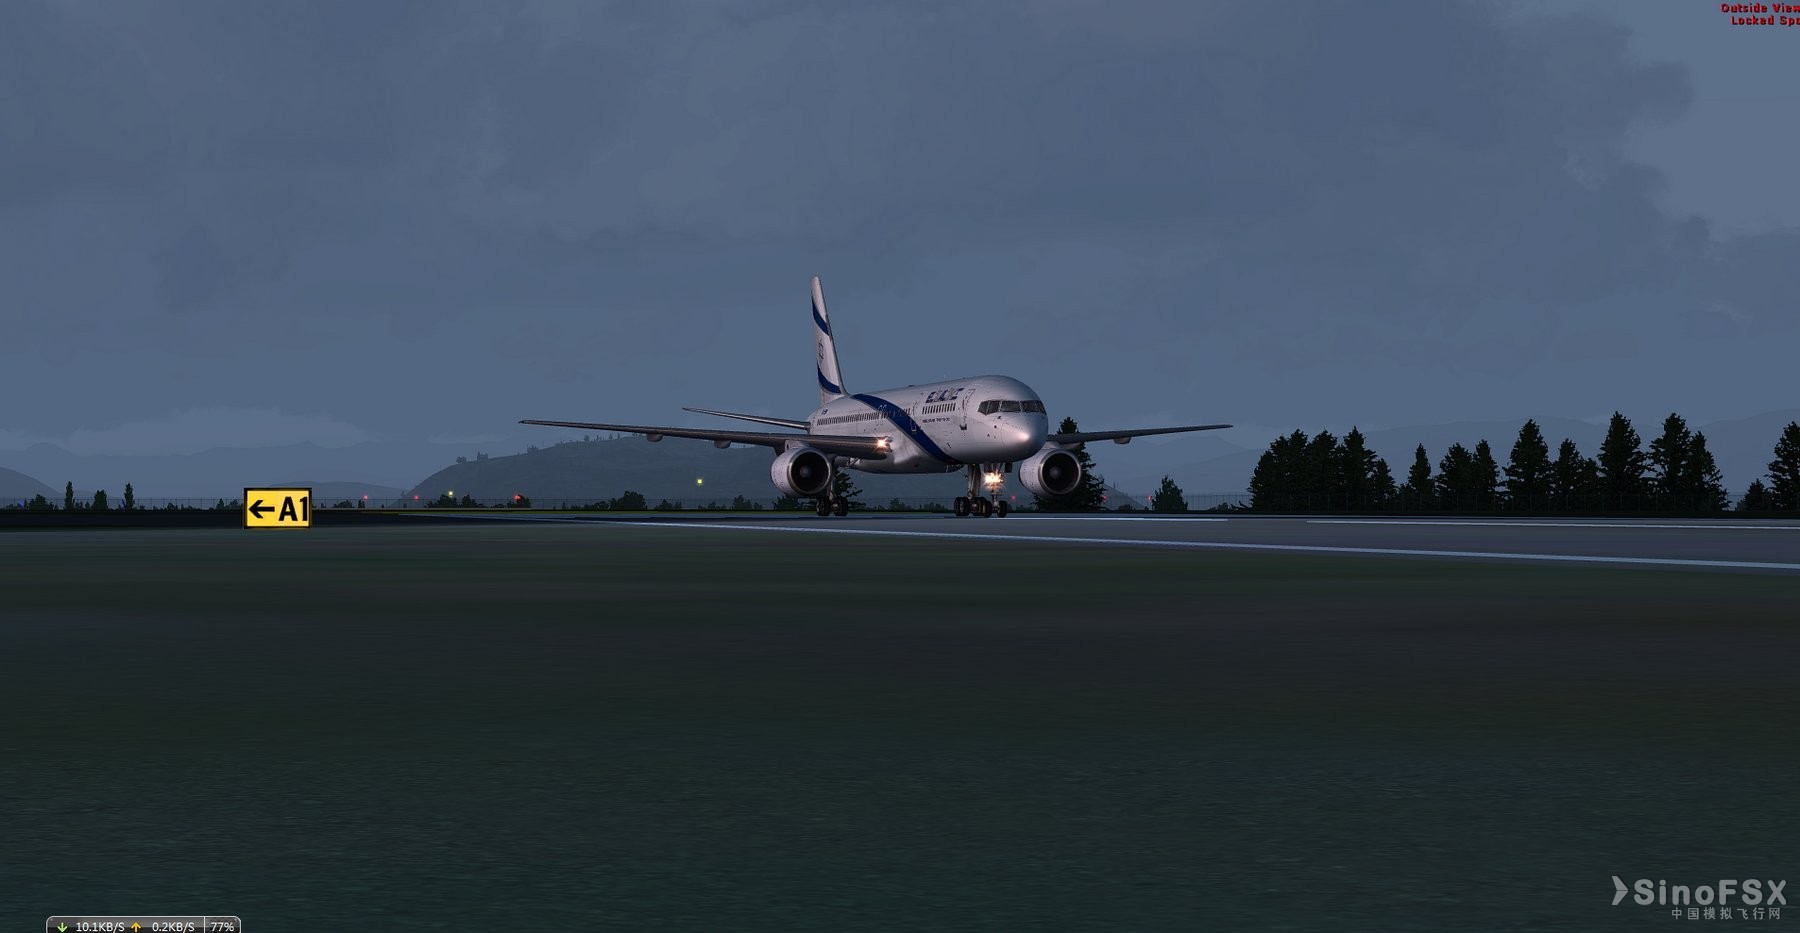
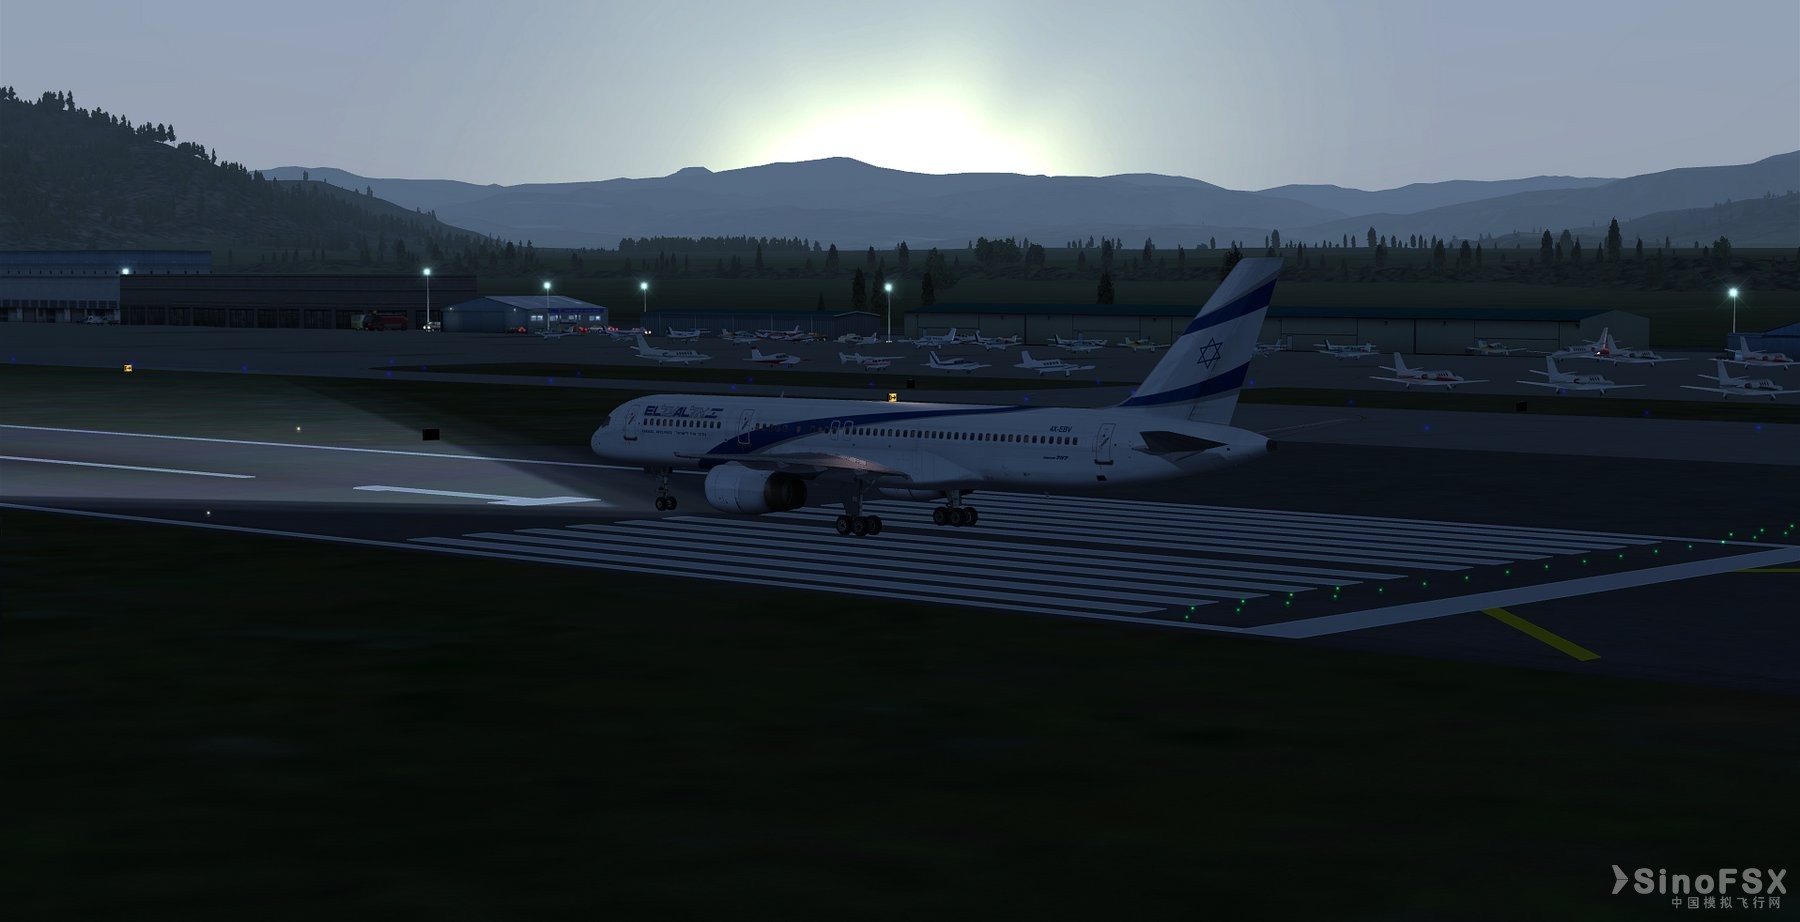
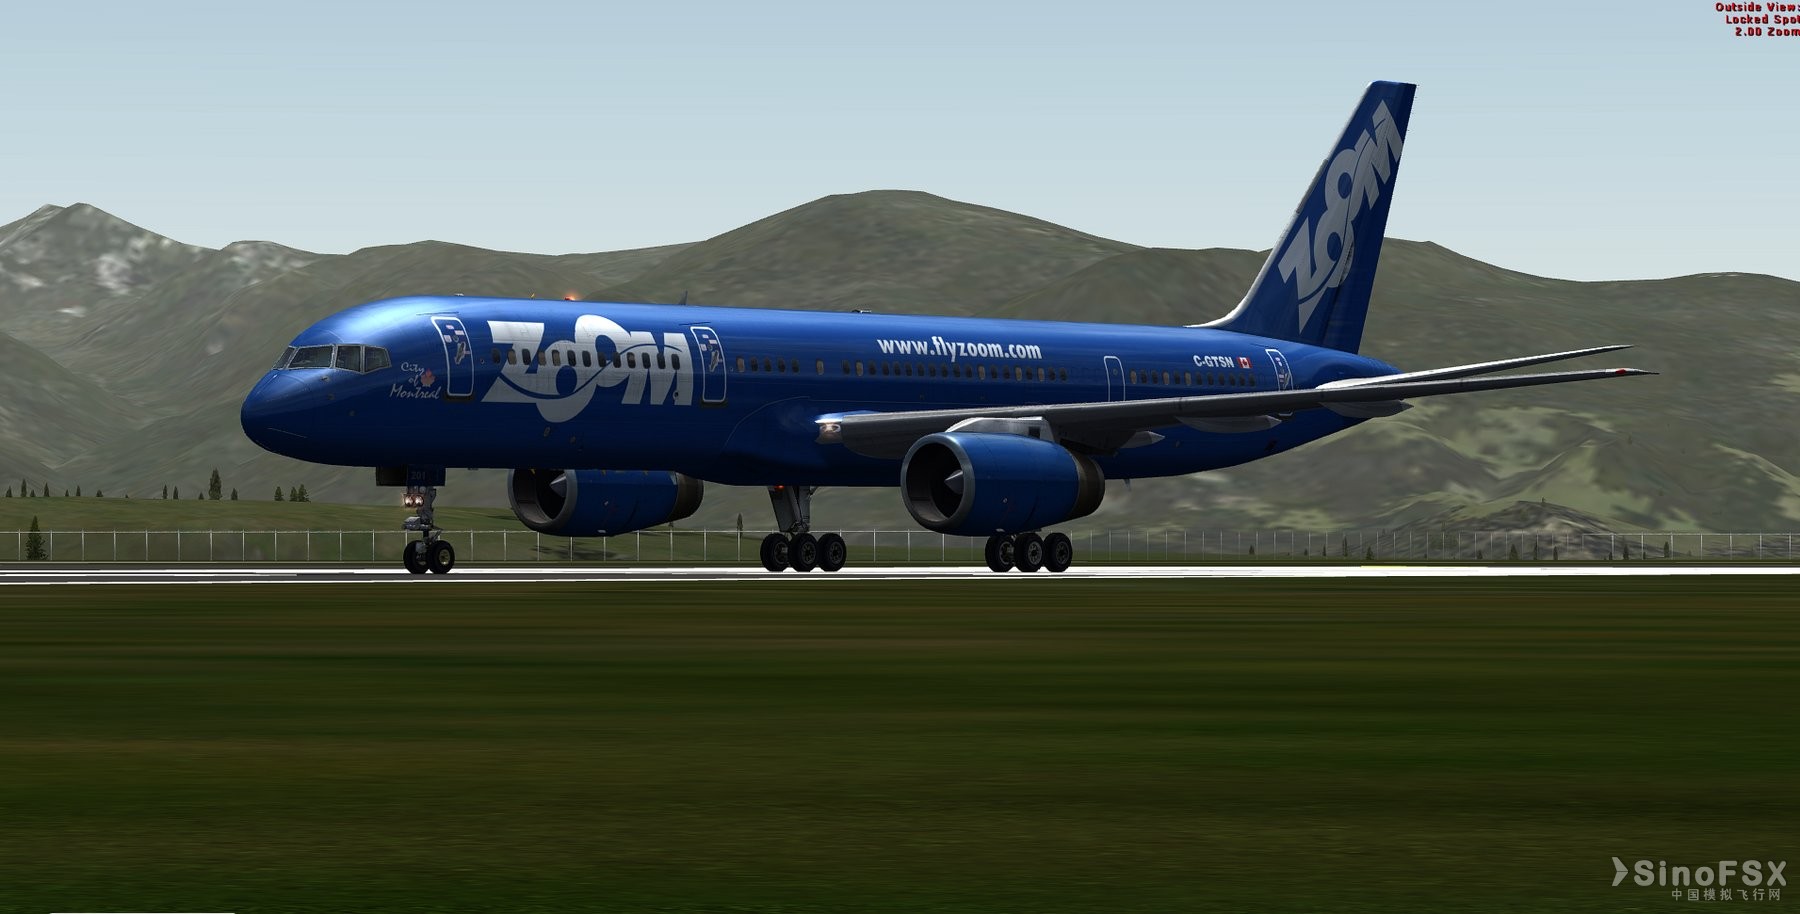
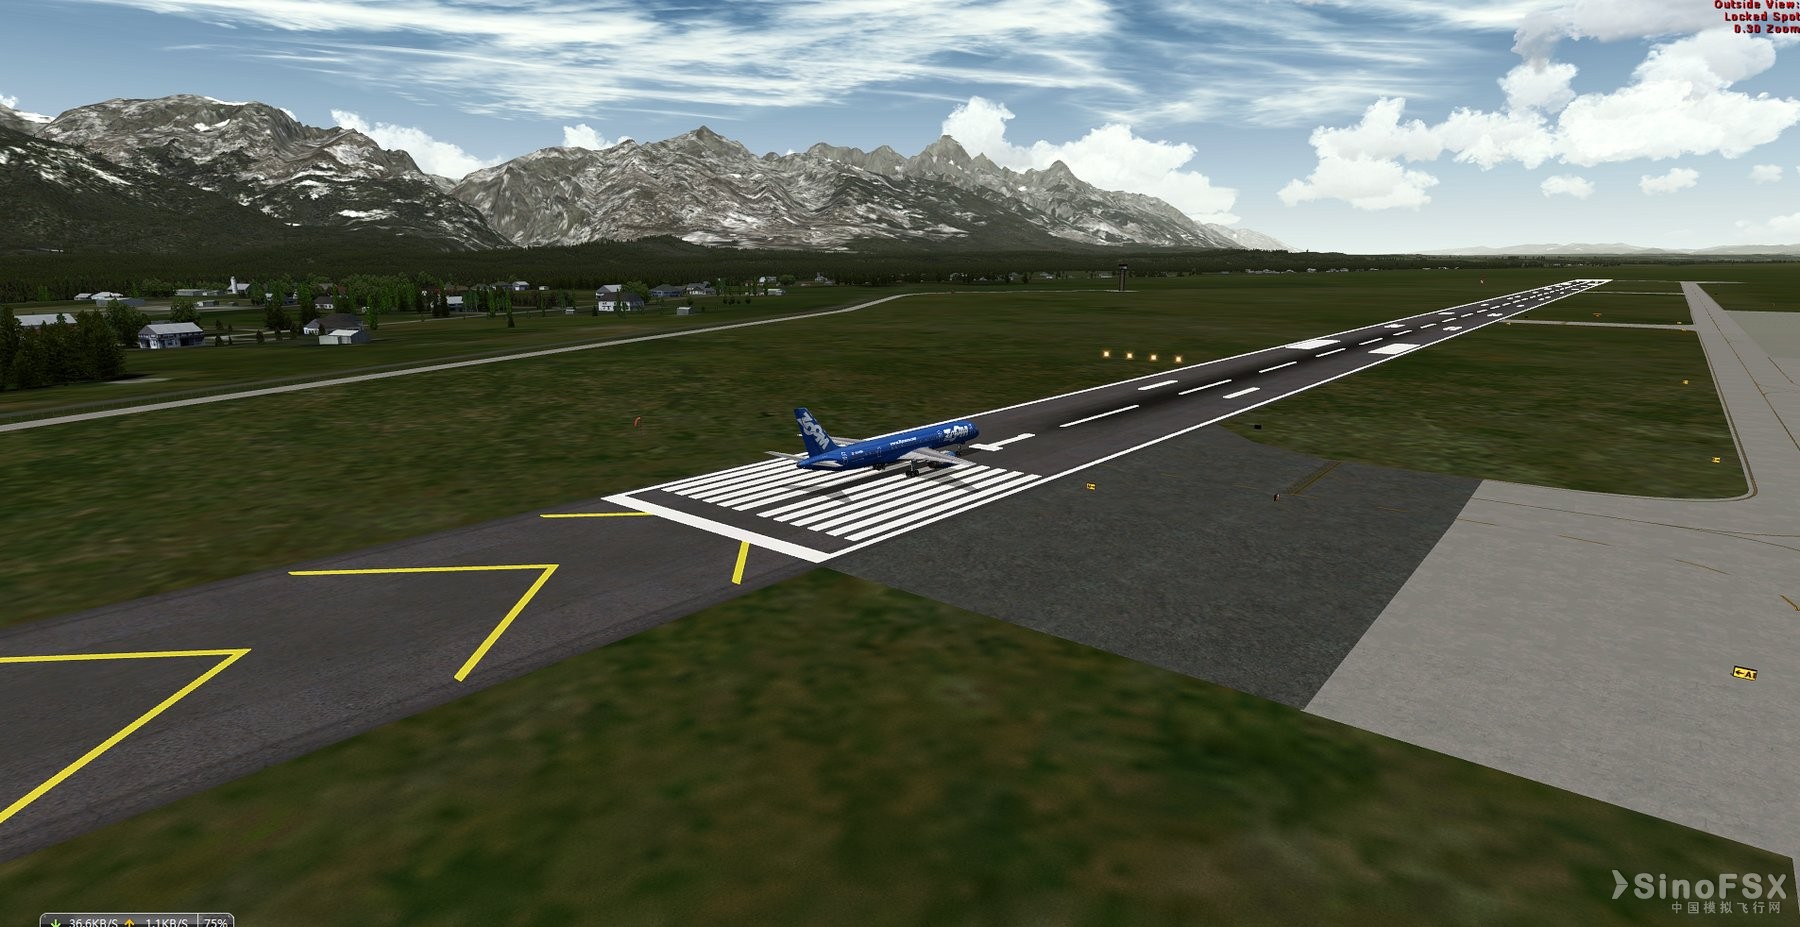
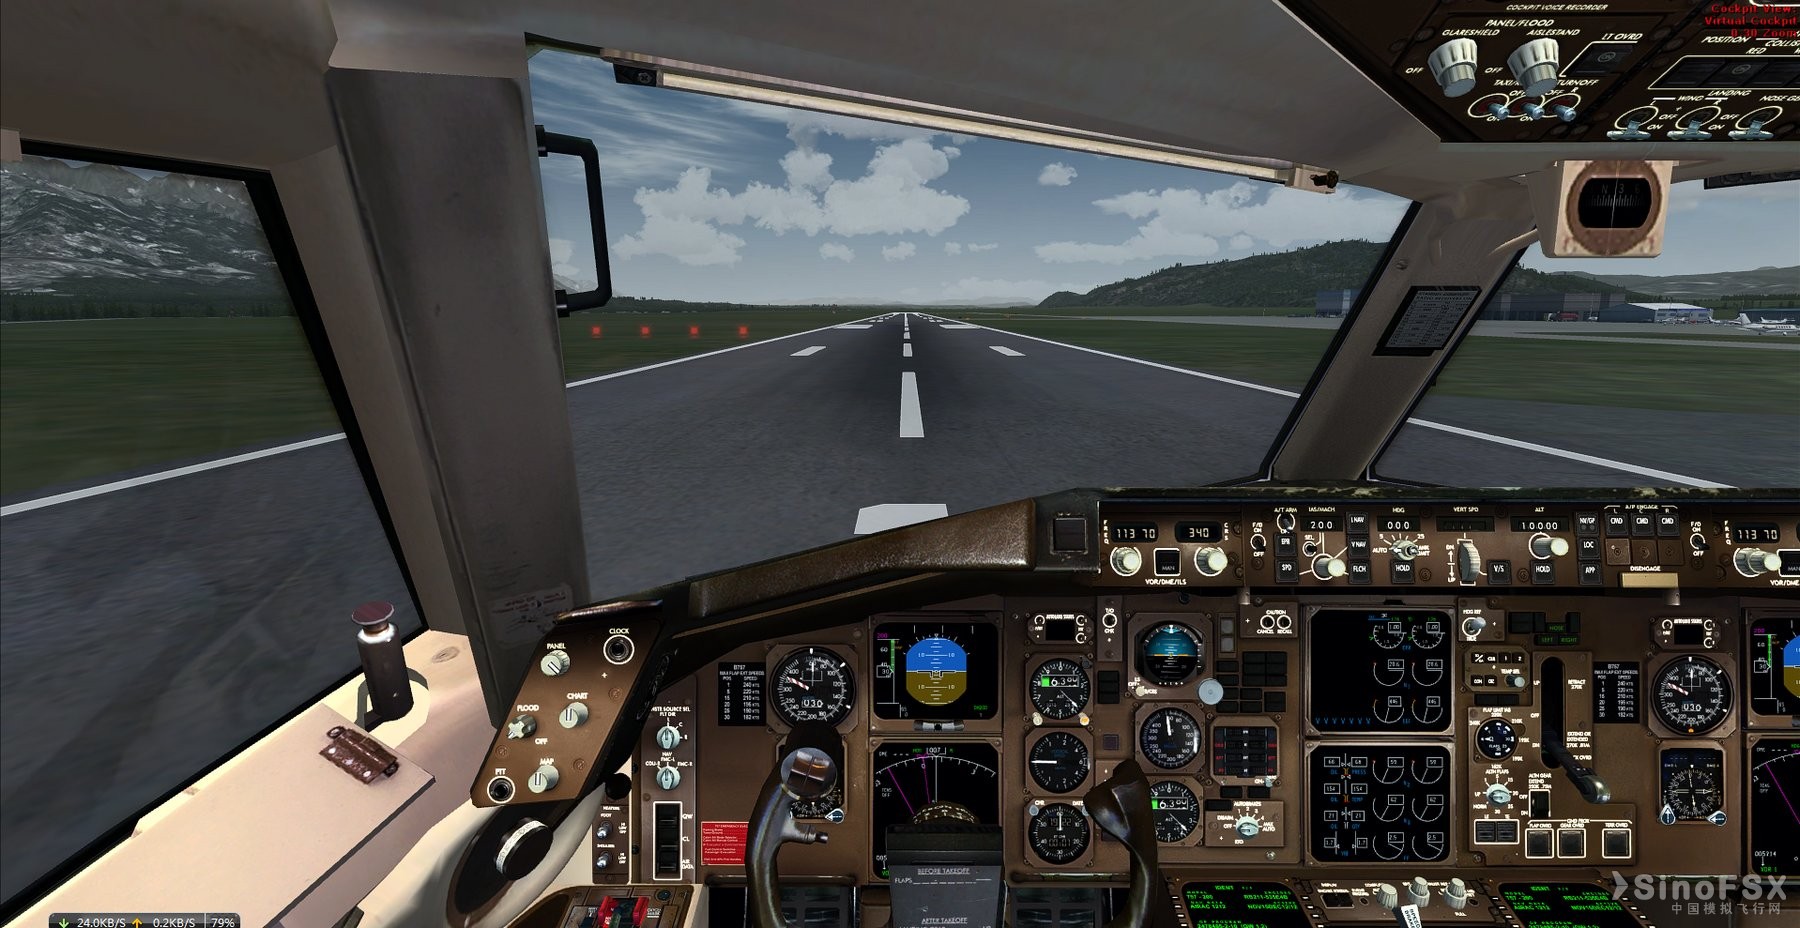
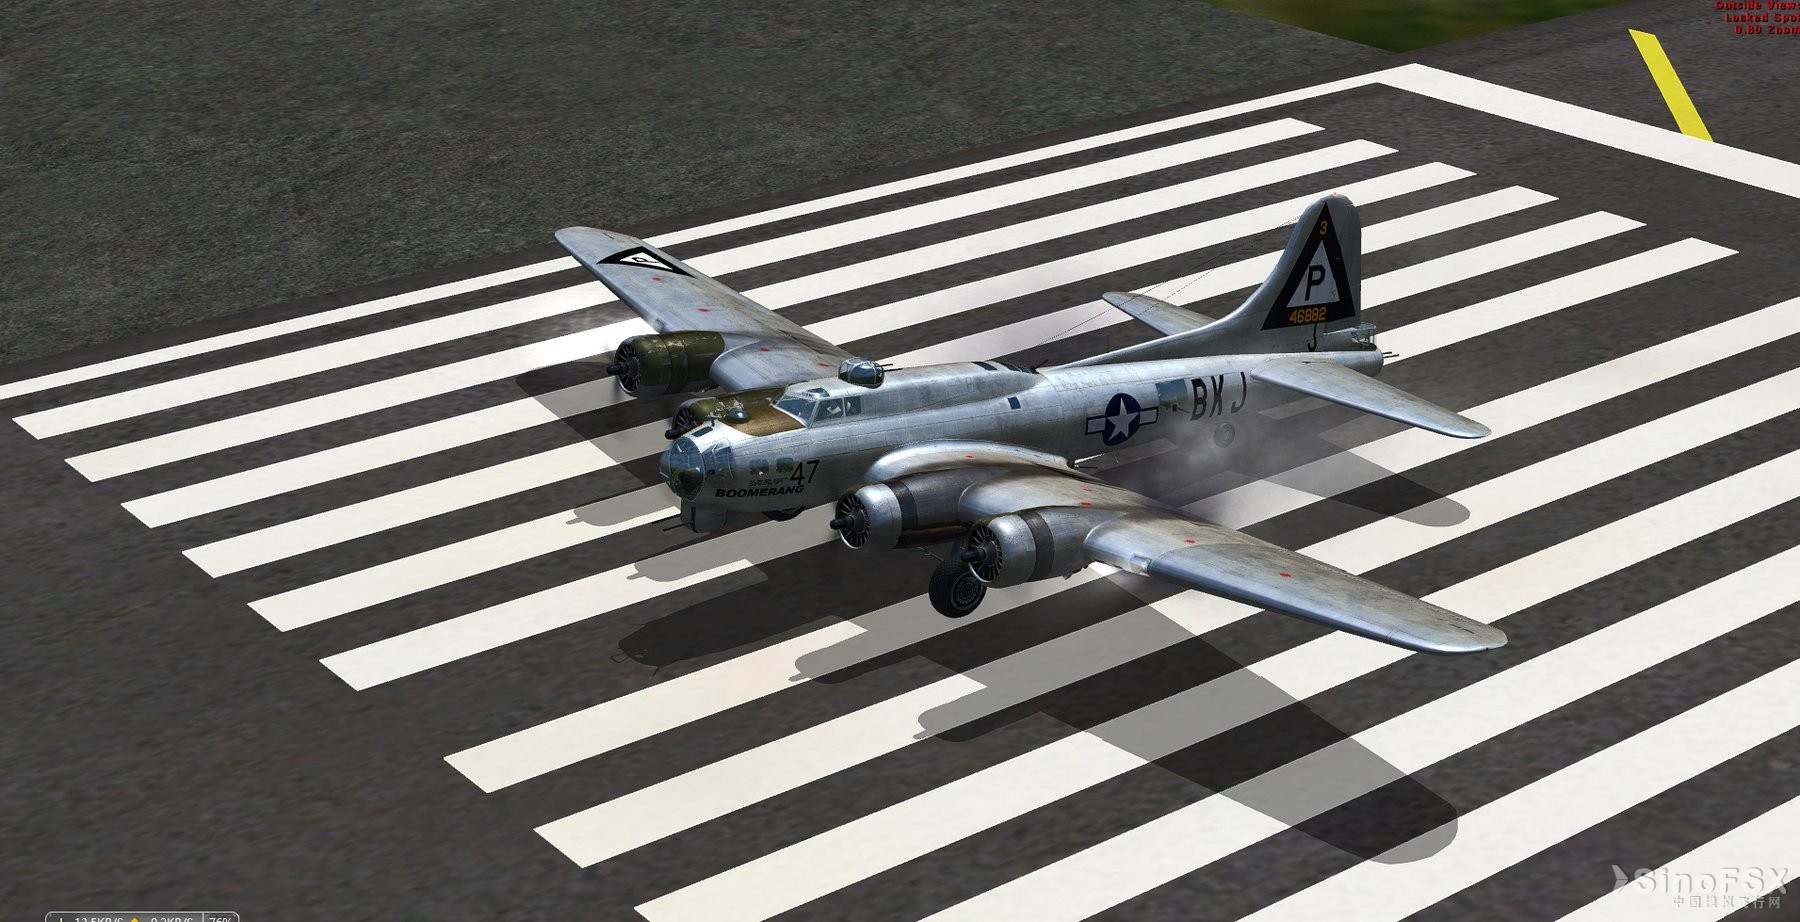
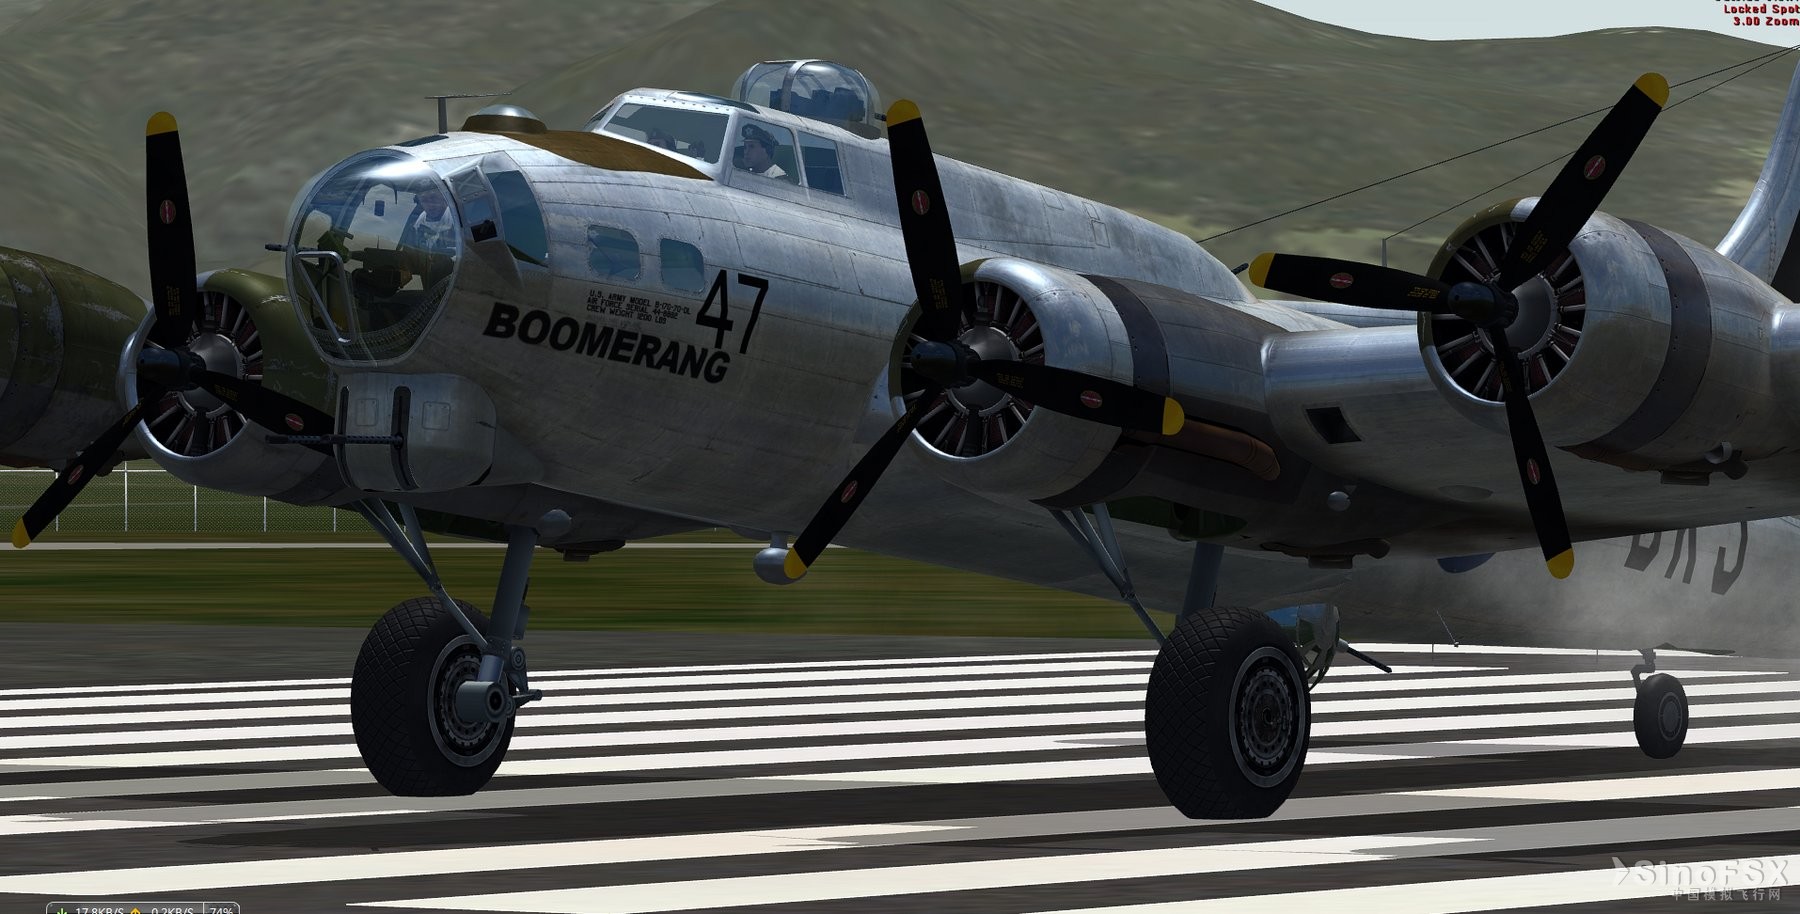
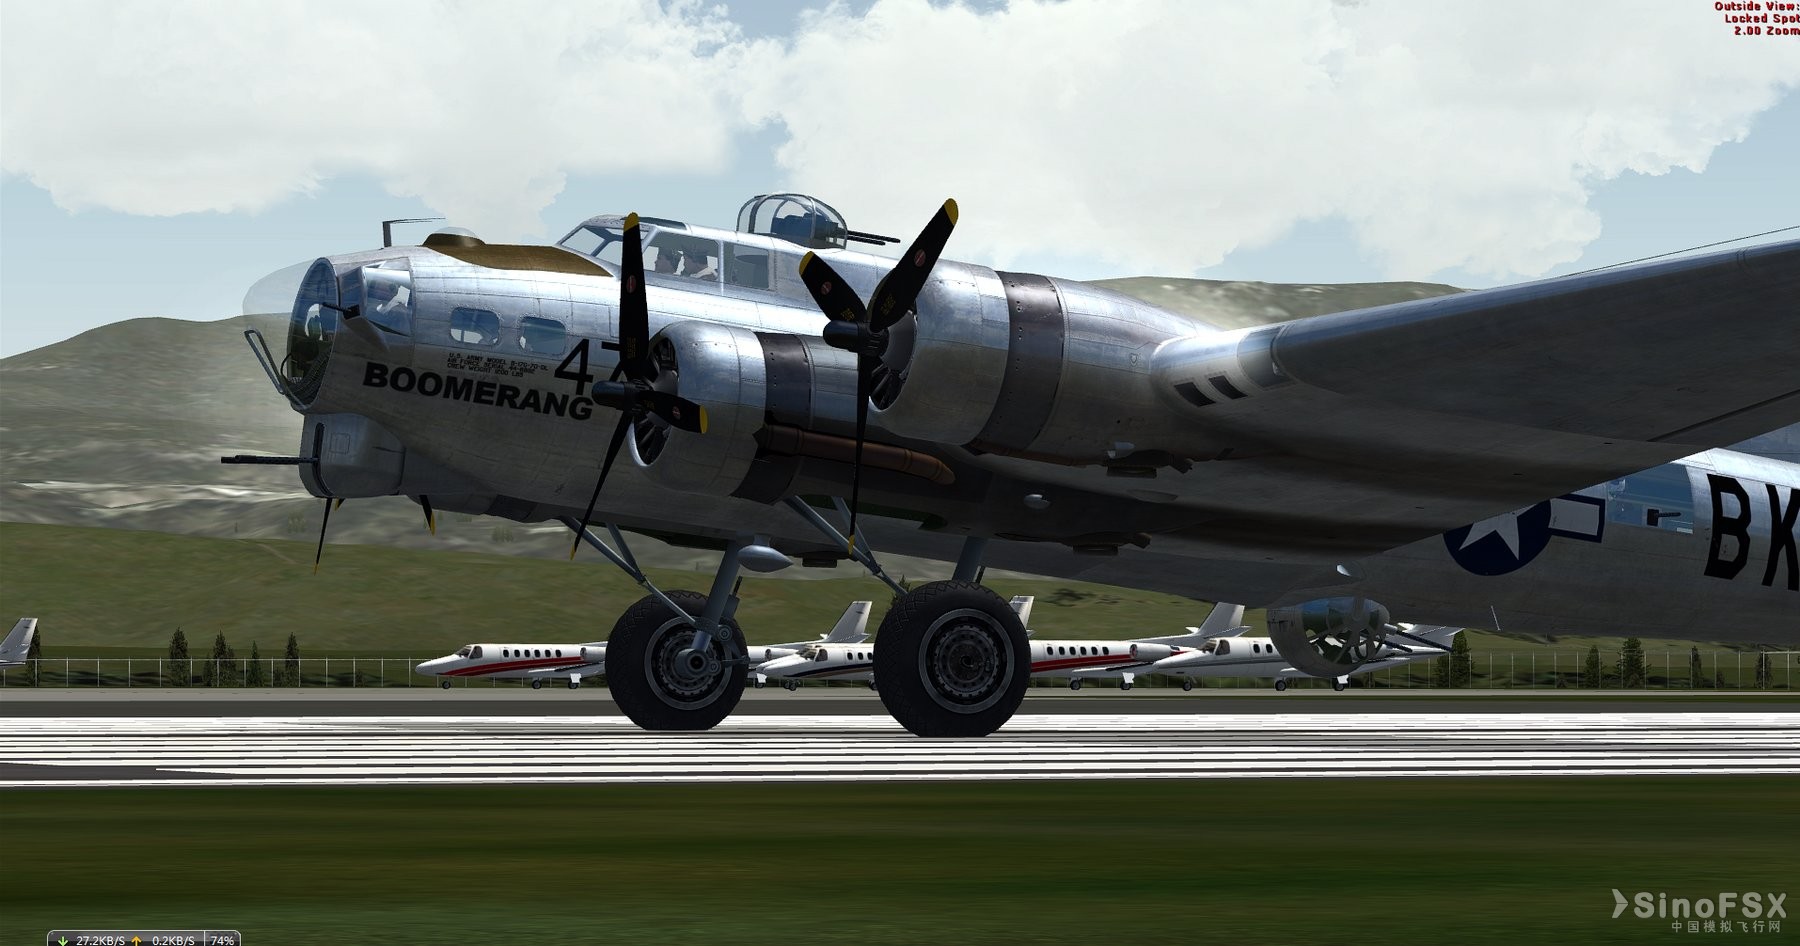
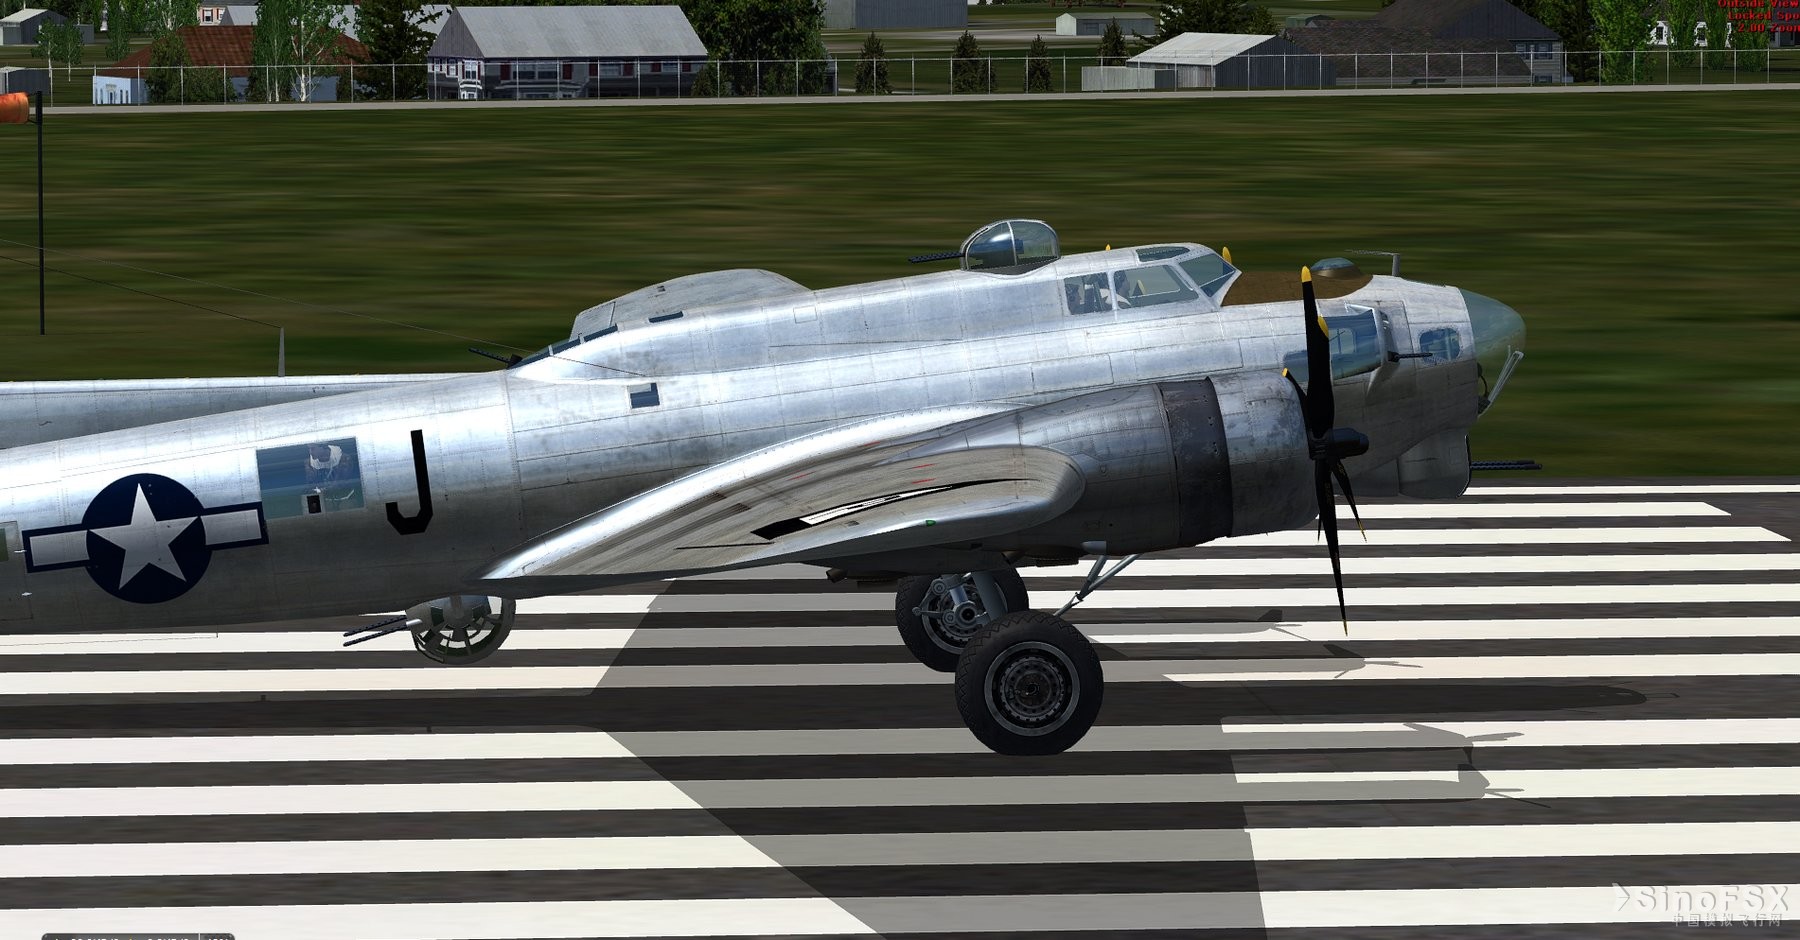
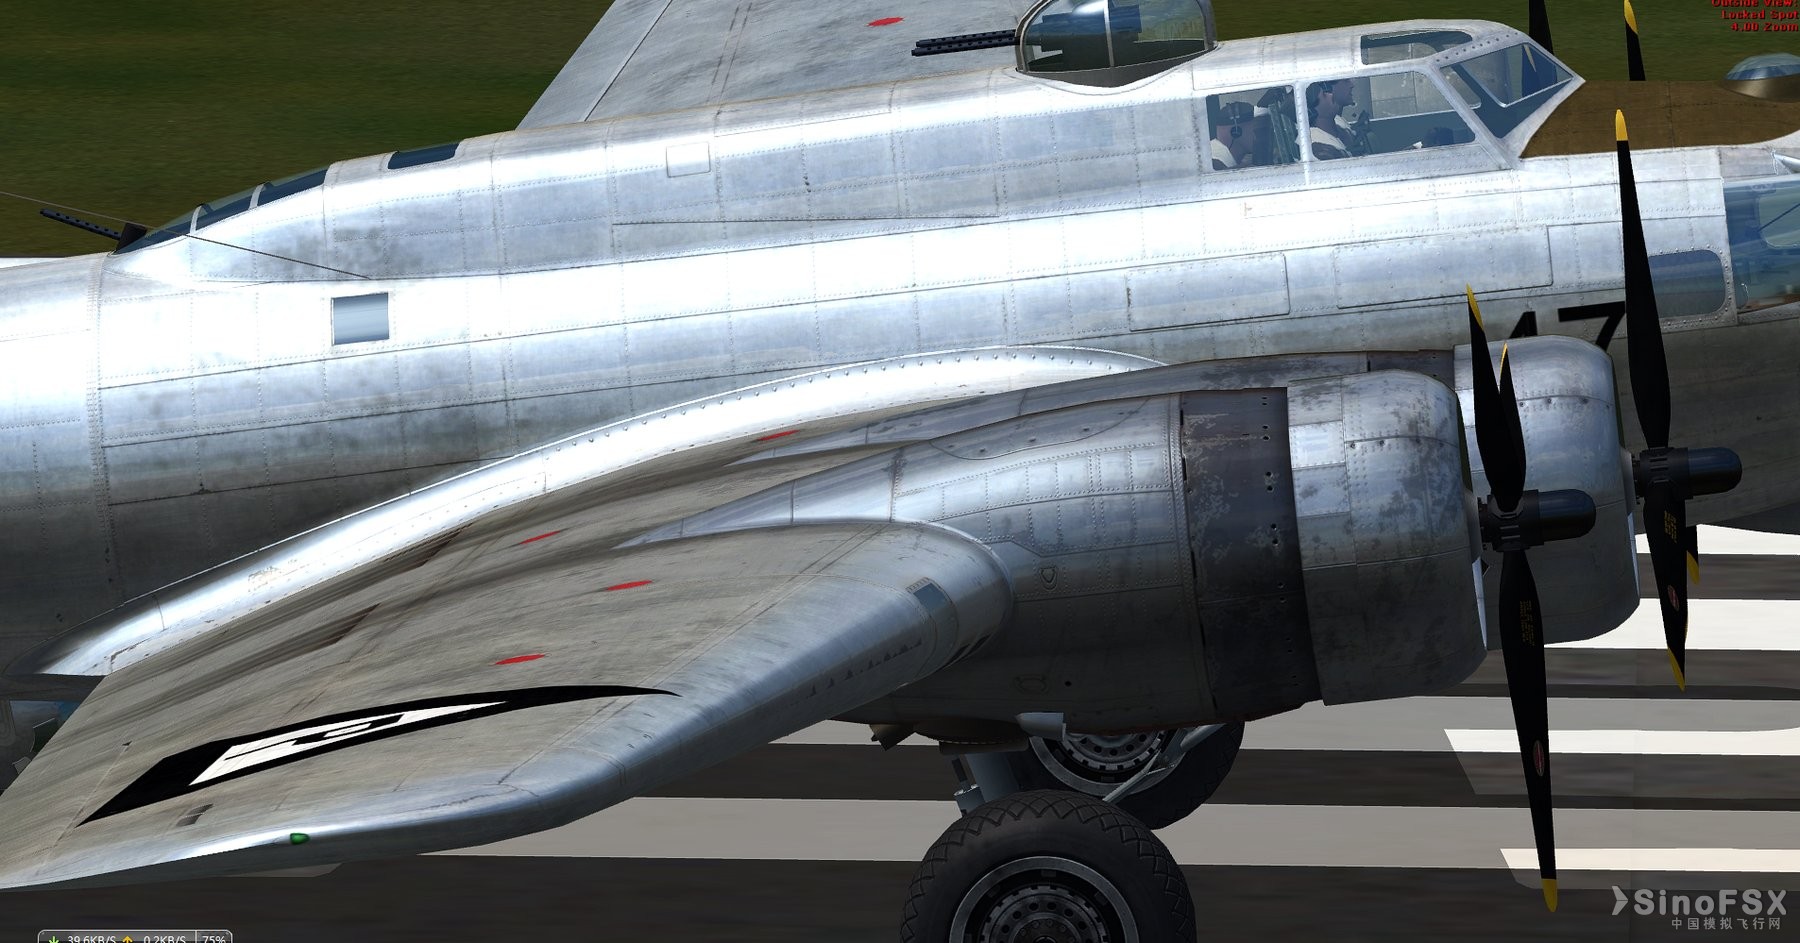
附上几张我的截图,SWEETFX比ENB更胜一筹的地方,我觉得是暗部,ENB只要在逆光或者弱光情况下,暗部层次很差,一团死黑,画面不通透,经常是仪表难以分辨,sweetfx因为有HDR功能,暗部和亮部的层次都能尽量保留,暗的地方能暗下去,亮的地方能亮起来,而且都不会过曝或者欠曝,材质的质感更强了。(HDR我减小了参数)。我的截图也能体现出这种特性。另外sweetfx的色彩也很好,油润感,灵动的光线,通透,锐度也很棒,细节丰富。
附上我的其中一个设置(只显示改动的地方):
// Set to 1 for ON or 0 for OFF
#define USE_SMAA_ANTIALIASING 1 //[0 or 1] SMAA Anti-aliasing : Smoothens jagged lines.
#define USE_LUMASHARPEN 1 //[0 or 1] LumaSharpen : Also sharpens the antialiased edges which makes them less smooth - I'm working on fixing that.
#define USE_BLOOM 1 //[0 or 1] Bloom : Makes bright lights bleed their light into their surroundings (relatively high performance cost)
#define USE_HDR 1 //[0 or 1] HDR : Not actual HDR - It just tries to mimic an HDR look (relatively high performance cost)
#define USE_TECHNICOLOR 1 //[0 or 1] TECHNICOLOR : Attempts to mimic the look of an old movie using the Technicolor three-strip color process (Techicolor Process 4)
#define USE_DPX 0 //[0 or 1] Cineon DPX : Should make the image look like it's been converted to DXP Cineon - basically it's another movie-like look similar to technicolor.
#define USE_LIFTGAMMAGAIN 1 //[0 or 1] Lift Gamma Gain : Adjust brightness and color of shadows, midtones and highlights (avoids clipping)
#define USE_TONEMAP 0 //[0 or 1] Tonemap : Adjust gamma, exposure, saturation, bleach and defog. (may cause clipping)
#define USE_VIBRANCE 1 //[0 or 1] Vibrance : Intelligently saturates (or desaturates if you use negative values) the pixels depending on their original saturation.
#define USE_CURVES 1 //[0 or 1] Curves : Contrast adjustments using S-curves.
#define USE_SEPIA 0 //[0 or 1] Sepia : Sepia tones the image.
#define USE_VIGNETTE 0 //[0 or 1] Vignette : Darkens the edges of the image to make it look more like it was shot with a camera lens. May cause banding artifacts.
#define USE_DITHER 0//[0 or 1] Dither : Applies dithering to simulate more colors than your monitor can display. This lessens banding artifacts (mostly caused by Vignette)
#define USE_SPLITSCREEN 0 //[0 or 1] Splitscreen : Enables the before-and-after splitscreen comparison mode.
/*-----------------------------------------------------------.
/ SMAA Anti-aliasing settings /
'-----------------------------------------------------------*/
#define SMAA_THRESHOLD 0.12 // [0.05 to 0.20] Edge detection threshold
#define SMAA_MAX_SEARCH_STEPS 8 // [0 to 98] Determines the radius SMAA will search for aliased edges
#define SMAA_MAX_SEARCH_STEPS_DIAG 4 // [0 to 16] Determines the radius SMAA will search for diagonal aliased edges
#define SMAA_CORNER_ROUNDING 0 // [0 to 100] Determines the percent of antialiasing to apply to corners.
// -- Advanced SMAA settings --
#define COLOR_EDGE_DETECTION 1 // [0 or 1] 1 Enables color edge detection (slower but slightly more acurate) - 0 uses luma edge detection (faster)
#define SMAA_DIRECTX9_LINEAR_BLEND 0 // [0 or 1] Using DX9 HARDWARE? (software version doesn't matter) if so this needs to be 1 - If not, leave it at 0.
/*-----------------------------------------------------------.
/ LumaSharpen settings /
'-----------------------------------------------------------*/
// -- Sharpening --
#define sharp_strength 0.60 // [0.10 to 3.00] Strength of the sharpening
#define sharp_clamp 0.035 // [0.000 to 1.000] Limits maximum amount of sharpening a pixel recieves - Default is 0.035
// -- Advanced sharpening settings --
#define pattern 1 // [1|2|3|4] Choose a sample pattern. 1 = Fast, 2 = Normal, 3 = Wider, 4 = Pyramid shaped.
/*-----------------------------------------------------------.
/ Bloom settings /
'-----------------------------------------------------------*/
#define BloomThreshold 20.25 //[0.00 to 50.00] Threshold for what is a bright light (that causes bloom) and what isn't.
#define BloomPower 1 //[0.0000 to 8.0000] Strength of the bloom
#define BloomWidth 0.0142 //[0.0000 to 1.0000] Width of the bloom
/*-----------------------------------------------------------.
/ HDR settings /
'-----------------------------------------------------------*/
#define HDRPower 1.25//[0.0 to 8.0] Strangely lowering this makes the image brighter
#define radius2 0.8 //[0.0 to 8.0] Raising this seems to make the effect stronger and also brighter

|
|
